To create a transmittal


CC Attach Attach Ref Add Delete Transmit Forward Print Print Fax
1 File Multi Plan Bid Pak. + Attach
| • | Project Management |
| • | Transmittals |
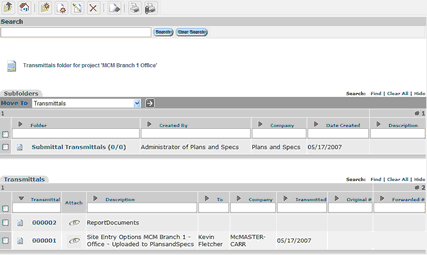
Click on Create New Transmittal icon 
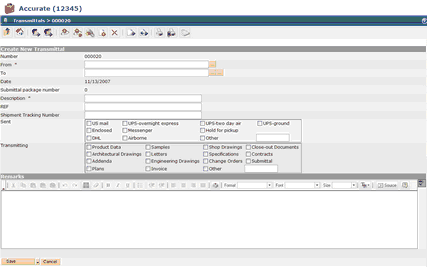
| • | Number – defaults to the next sequential number, cannot be modified |
| • | From – you have two choices for entering a name |
| • | Use the smart search by typing in the first few letters of the last name; select from the search that comes up. |

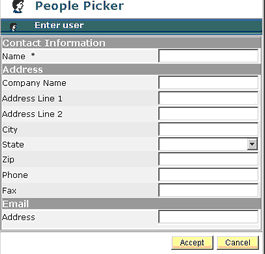
| • | Select from the gold selection button which will bring up the People Picker  |
| • | To – you have three options for this field |
| • | Use the smart search field |
| • | Click the first select button to select a project member from the Project Picker |
| • | If you wish to send this to someone who is not a user/contact in the system, click on the second select button. Insert all appropriate information and click on the Accept button. |
| • | Date – defaults to current date; cannot be modified |
| • | Description – insert if required |
| • | REF – insert reference if required |
| • | Shipment Tracking Number – insert if you have a tracking number to track shipments |
| • | Sent – insert method of delivery |
| • | Transmitting – insert what is being sent |
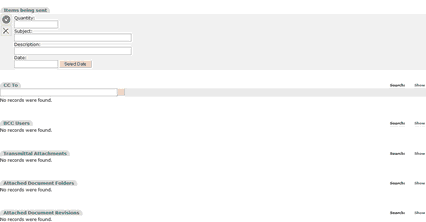
| • | Items Being Sent – Insert appropriate information for description of items being sent via the transmittal |
Upon Completion of data entry, you MUST transmit this item for notifications to go out. Click "Transmit" 