EVENTS AND MESSAGES
This module is found within your project and gives you the option to set up a calendar with tasks and to send outgoing messages to users in PlansandSpecs. The calendar can be used by all project members to check dates and times of meetings.
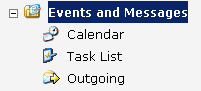
Calendar
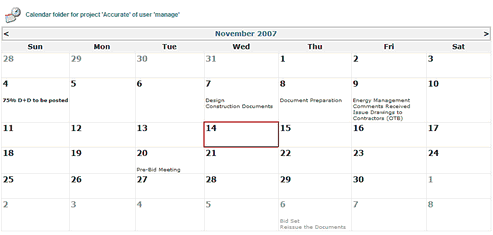
The calendar is created through the Task List module or by clicking on the day that you would like to add a task
 .
.
INBOX ![]()
The inbox houses all correspondence sent to you from team members within PlansandSpecs. To access your Inbox, click on Inbox from the navigation tree.
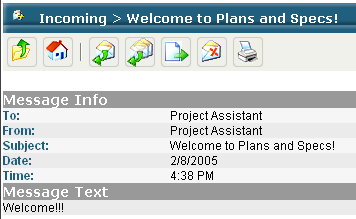
Incoming messages will be shown in your Inbox. You will also receive a notification in your Lotus Notes e-mail.
![]()
You will be able to click on the hyperlink shown in your e-mail to view the message.

To respond to the message you will have to log into the system. You also have the option to create a folder structure to store your incoming messages. Please see below for instructions.

Click on the subject to bring up the message.
Note: The check box is used to edit, move or delete, not to view.
![]()
To Reply to a Message
| • | Click on the Reply or Reply All Icon |
![]()
| • | To Forward the message, click the Forward Icon |


| • | Message Recipients - defaults to the sender |
![]()
| • | To Add Recipients |
| ▪ | Click Add Message Recipients Icon |
| ▪ | This will bring up the People Picker – select recipients via search/filtering process |
| ▪ | To Delete a Recipient – Click on the selection box to the right of the name and click the Delete icon |
| ▪ | Subject – defaults to the original message subject; can be revised |
| ▪ | Message Text – insert response |
To Attach Document Revisions
![]()
This option allows you to attach a plan, specification or picture from within Plans & Specs
| • | Click on the Attach a Document icon |
To Place a Message In Folder

Select the message to be moved or copied by clicking in the check box
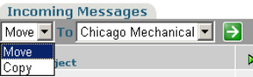
Select to Move or Copy the message
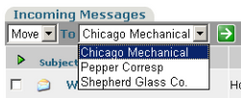
Select which folder to send the message to
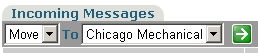
Click on the Accept Icon to put in folder